Pallet Wood Bird Craft
I wanted to make something cute and meaningful for my mom for mother’s day. Since my husband is super handy this project was easy to do, but even a non-handy person (like me) can do this. I originally saw this idea online and customized it for my mom. I like the idea that it has birds (perfect for her business selling bird aviaries) and that it also represents each of her children.
Supplies used for this project: pallet wood, wood glue, nails, drill, chop saw, clamps, 1/8-1/4 inch wood backing,
paint, letter stencils, sharpie, twine, clothespins,
bird cutouts (we made our own because my husband has a scrollsaw, but you could purchase them pre-cut)
Since this is not a DIY website, and I am not a DIY girl (just married a guy that is!), the directions are probably pretty choppy because my husband does most of the work and I just put the finishing touches on.
I picked out nice pieces of wood from a pallet and then we pulled the wood off and using a chop saw cut 3 pieces down to the predetermined size we wanted to use. After determining the size of the backing, we cut a piece from the pallet to use for a border. We then cut 4 pieces from the pallet to use as a frame and mitered a 45 degree angle on both sides. We glued (using wood glue) the 3 pallet pieces to the backing and nailed the four pieces of frame to secure the piece.
Since we had a scrollsaw and it looked fun to use, I made a stencil of a bird to transfer to the wood. I then followed the lines (or tried to) with the scrollsaw. They didn’t all come out perfect, but they were pretty close! I used a sander to finish the rough edges.
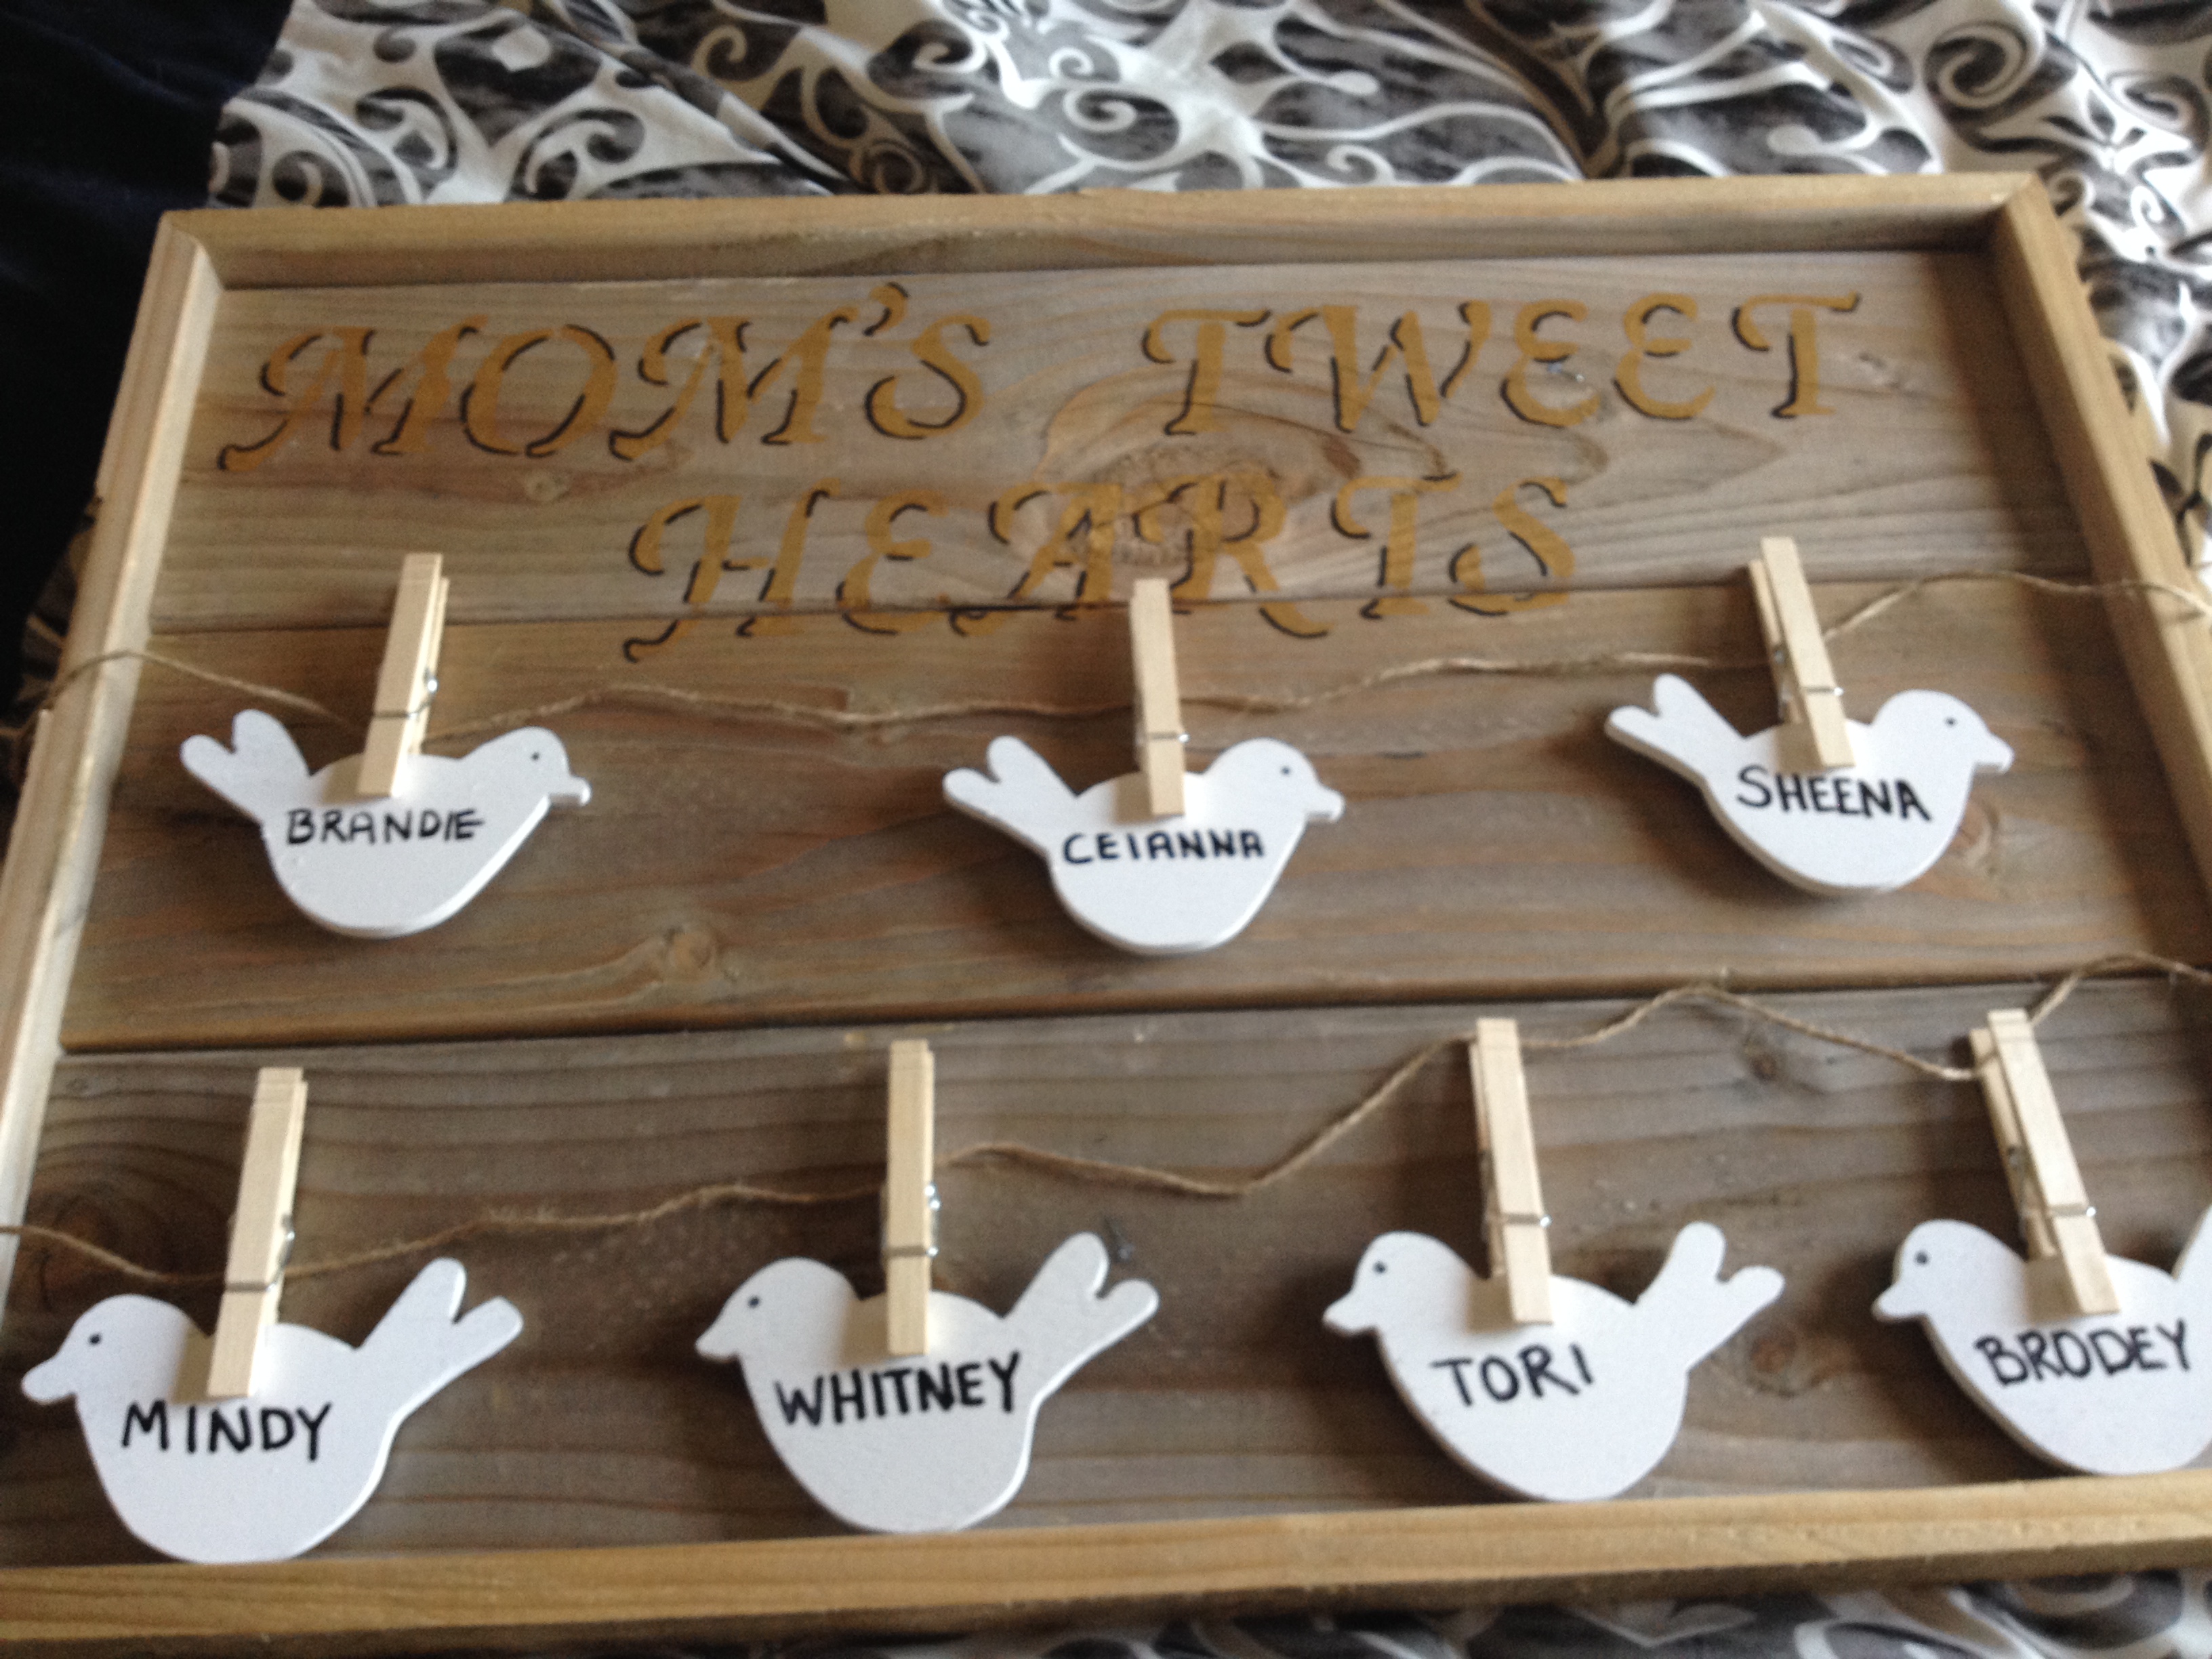
I bought some letter stencils and painted the words, after making sure that the letter placement worked. Since the color I picked didn’t show up too well, I used a black sharpie to outline the letters in places. We spray painted the birds white, and I used a sharpie to make a little eye and write each of my mom’s kids names on the front of the birds. I wanted to add a little more sentiment to the gift, so I wrote on the back of each bird what everyone loved most about mom.
Then we drilled a hole in the back of the board in the location we wanted to hang the picture, and two holes on each side of the frame equal distance from each other to feed the twine through. (In the picture the twine had not been fed through.) We then cut the twine to the predetermined size so that it would be tight and twisting the twine in the direction of the twist (this helped a lot) fed the ends through the holes. I then knotted the twine to secure in place.
I then attached the birds to the clothespins that I had placed on the twine, and voila, the project was done. It took about 4 hours to complete the project and I was happy with how it turned out; best of all it made my mom cry–so it was perfect!


